
In order to add a new editor to Applications.Doctor system, you’ll need the editor’s first name and email address. Please login to the Admin and go through the following:
- Ask the editor to first register. They will be redirected to sign their contract afterwards.
- After ensuring that their contract has been signed, check that the new editor has successfully registered using our Editor Registration form by checking if they have an approved entry here.
- Begin setting up their email notifications
- Form: Client Signup Form – Edit Form
- Add first name (only) of editor to field named: Editor
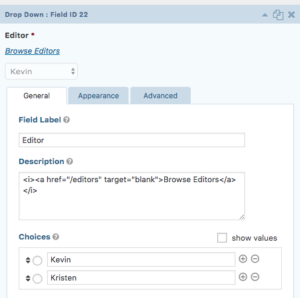
- Add first name (only) of editor to field named: Editor
- Form: Client Signup Form – Edit Notifications
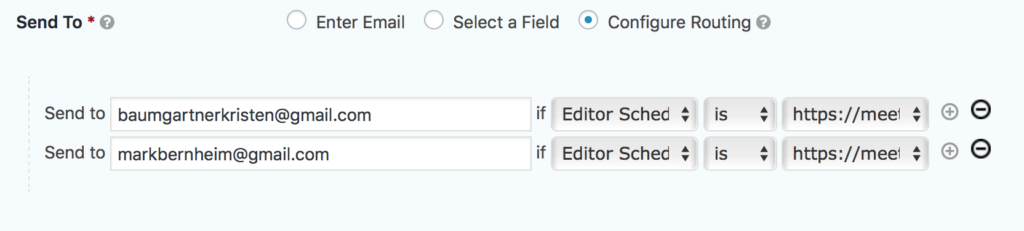
- Under the “Send To” section, click the (+) button to add a new row
- Enter the editor’s email address in the left column, then select “Editor Scheduling Link” in the middle drop-down column, then select the editor’s schedule link in the right column drop-down.
- Form: Editor Availability Popup – Edit Form
- Add first name and editor profile ID# to field named: Editor
You can find the ID number by going to their website profile and finding it in the URL: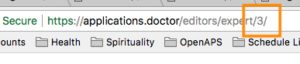
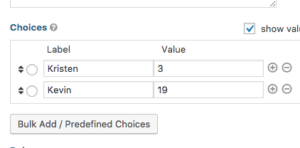
- Add first name and editor profile ID# to field named: Editor
- Form: Editor Availability Popup – Edit Notifications
- After going to Notifications, choose: Editor Availability Request
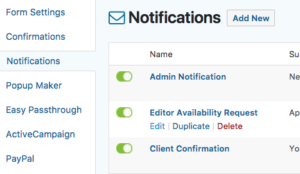
- Then in the Send To area at the top, add email address on the right and select editor name on the left:
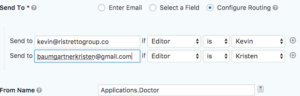
- Then in the Send To area at the top, add email address on the right and select editor name on the left:
- After going to Notifications, choose: Editor Availability Request
- Form: Initial Editing Questionnaire – Edit Form
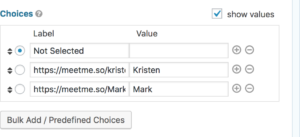
- In the field labeled “Editor Scheduling Link”, click the (+) button to add a new row
- Add the editor’s scheduling link in the “Choices” column, then add their first name under the “Values” column (make sure show values is checked)
- Form: Client Signup Form – Edit Notifications
- Under the “Send To” section, click the (+) button to add a new row
- Enter the editor’s email address in the left column, then select “Editor Scheduling Link” in the middle drop-down column, then select the editor’s schedule link in the right column drop-down.
- Form: Client Signup Form -Edit Form
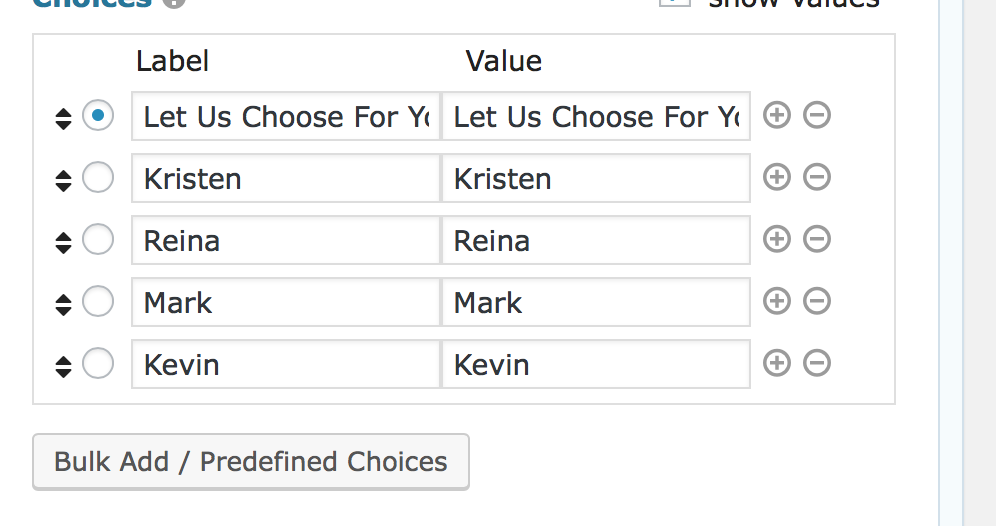
- In the field labeled “Editor”, click the (+) button to add a new row
- Enter the editor’s first name in the left column (as well as right column if showing)
- Form: Client Signup Form – Edit Form